Learn more

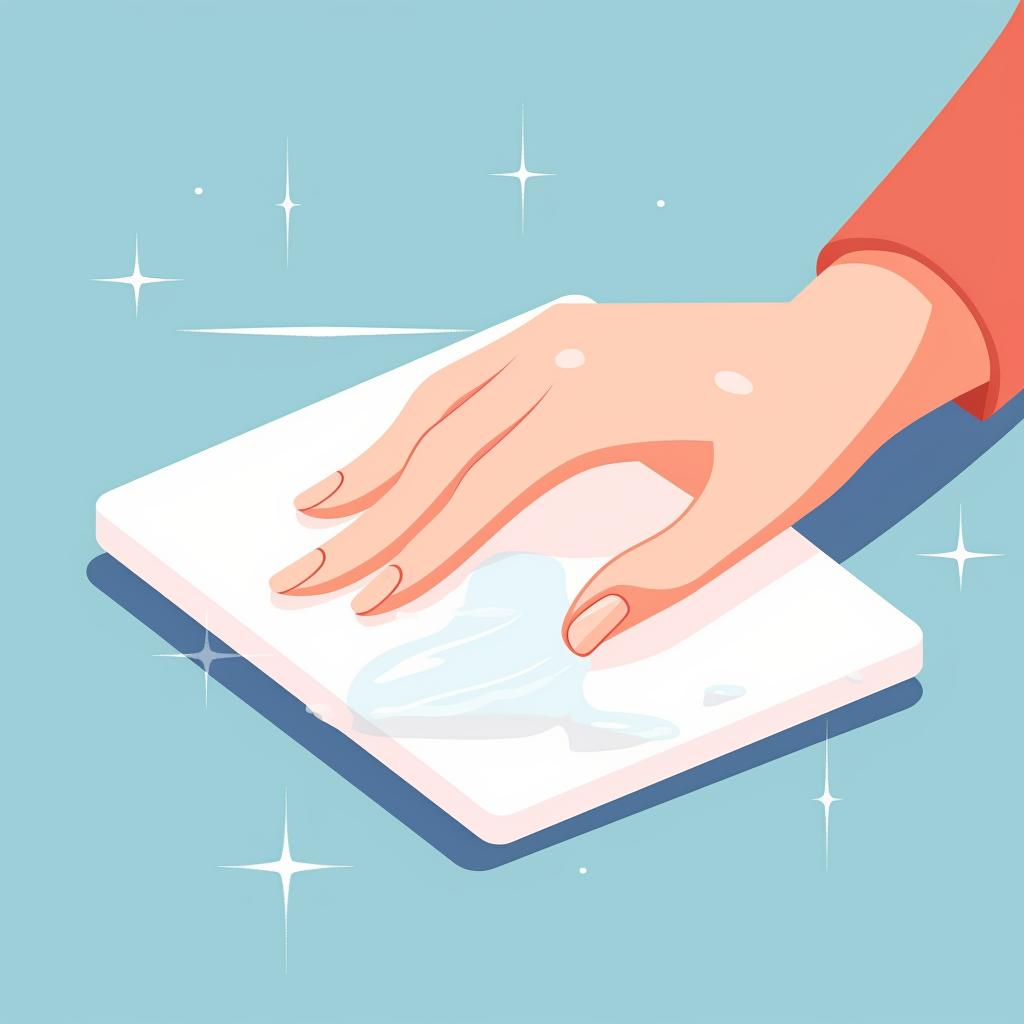

Embrace the beauty of your short almond nails with a touch of creativity. With this simple DIY nail art guide, you can transform your nails into a canvas of expression. Whether you're a nail art novice or a seasoned pro, this guide is designed to inspire and guide you every step of the way.
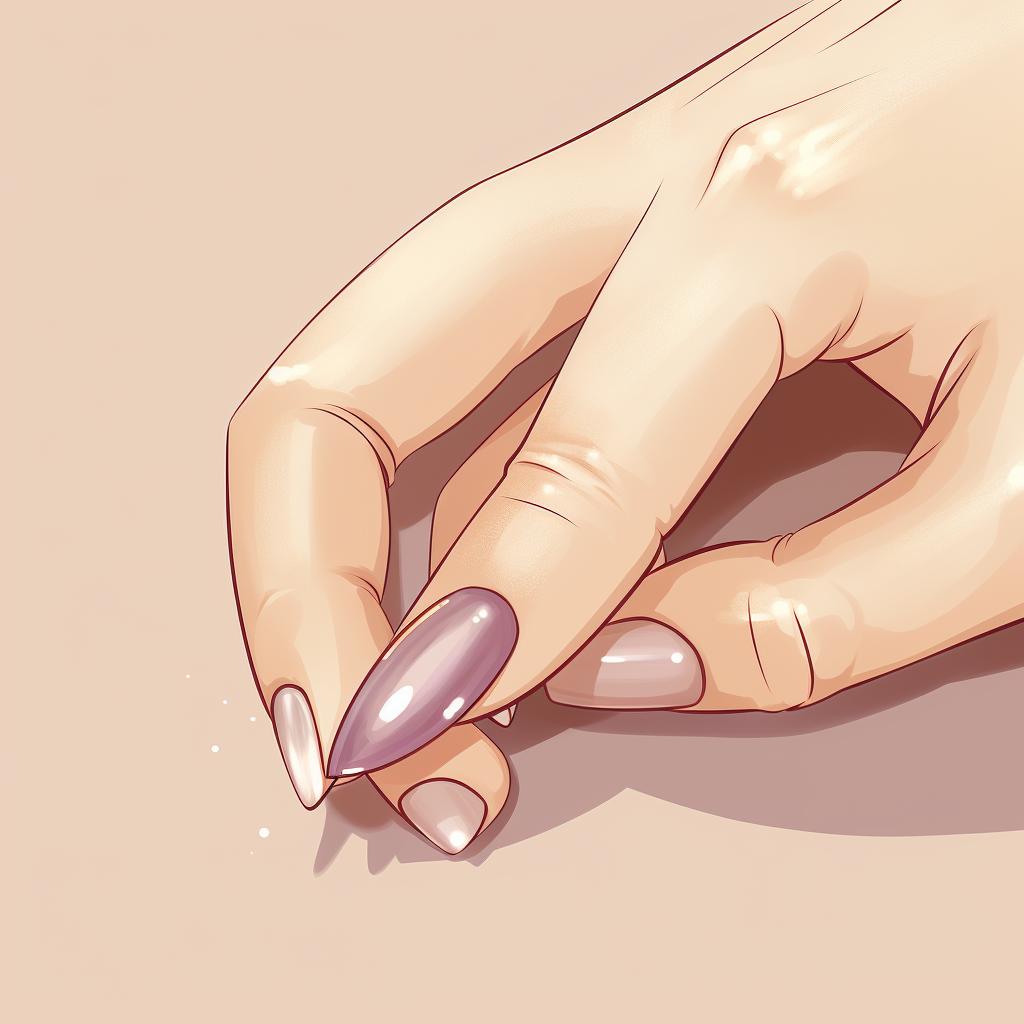
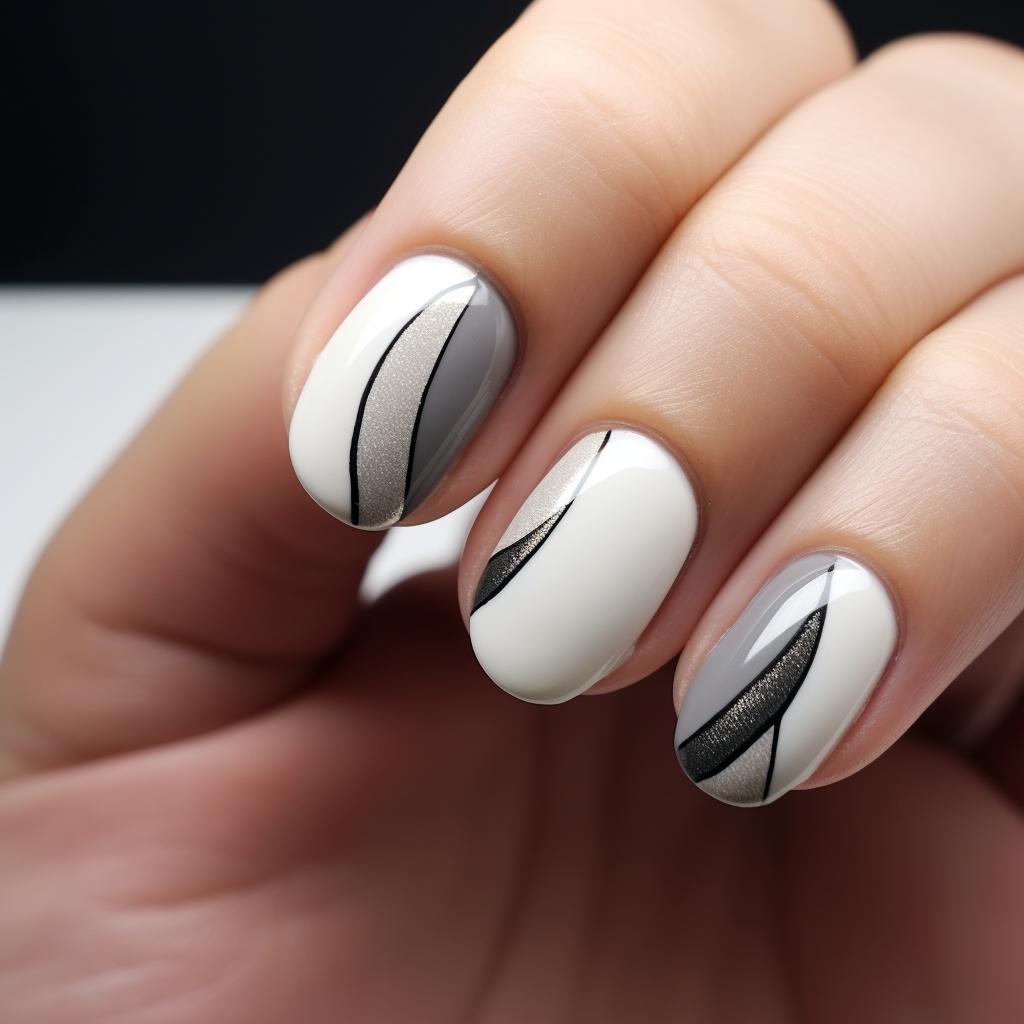
Short almond nails are a chic and versatile canvas for nail art. They offer a perfect blend of elegance and edge, making them a popular choice for modern women. The almond shape is flattering on all hand shapes and sizes, making it a versatile choice for everyone. If you're new to shaping your nails, check out our ultimate guide to achieving the perfect almond nail shape.
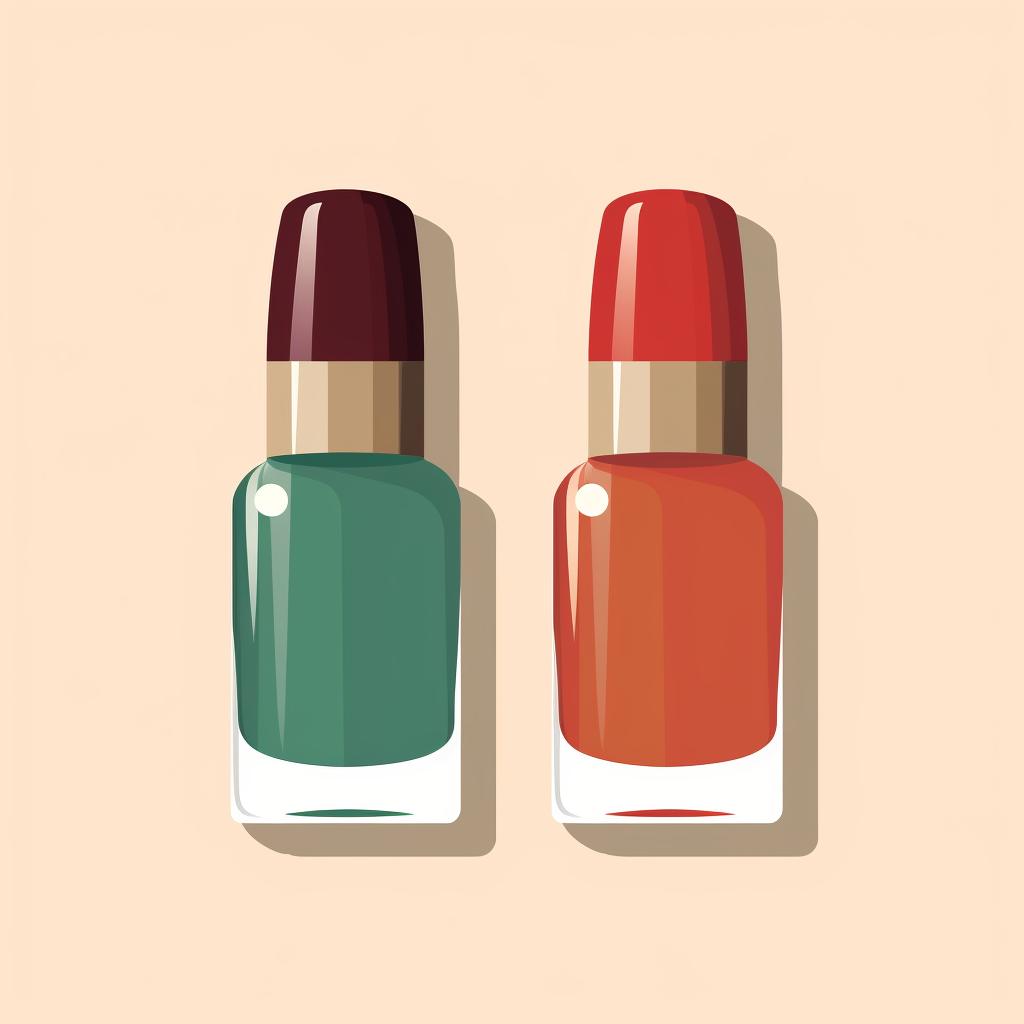
When it comes to choosing your colors, the world is your oyster. From soft pastels to vibrant hues, your color choice can dramatically change the look and feel of your nail art. If you're looking for inspiration, our spring nail designs article is a great place to start. Remember, the key here is contrast. Choose two colors that complement each other well to create a striking design.
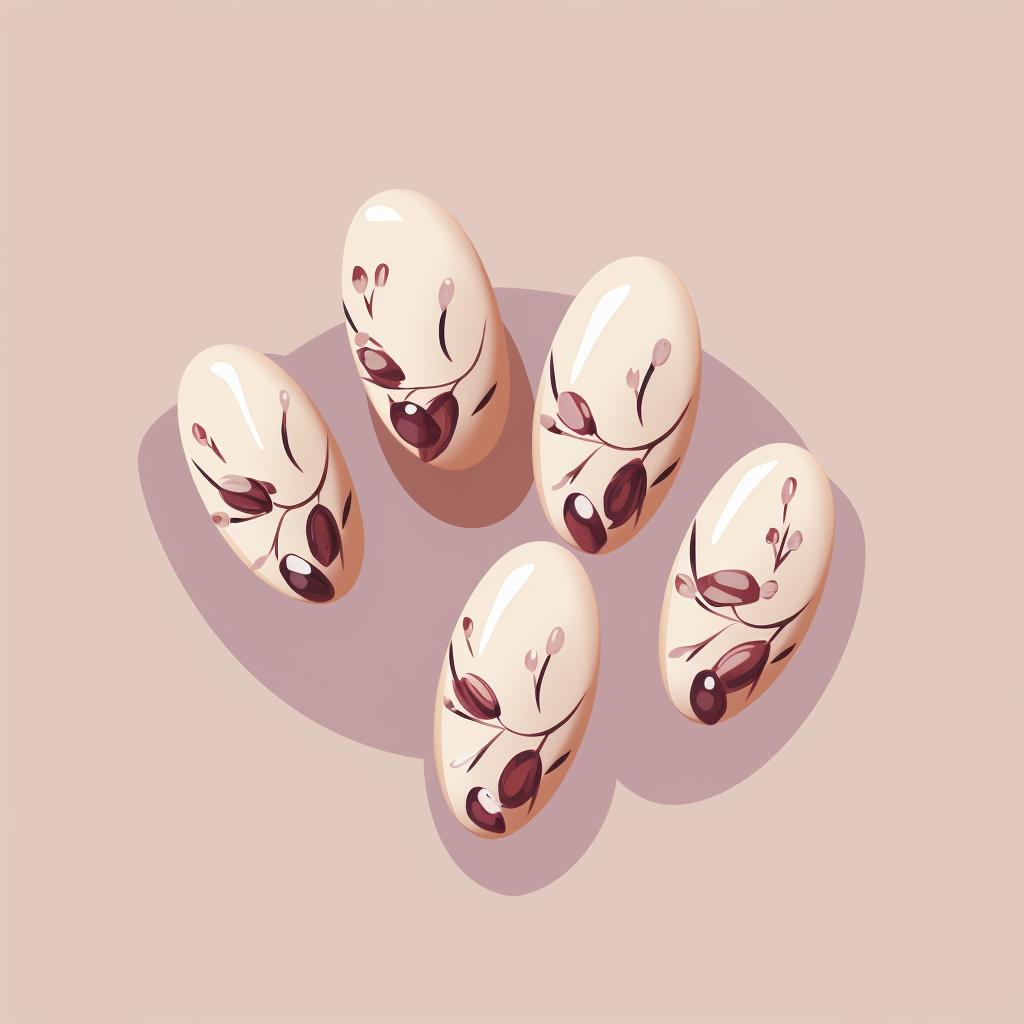
Creating your design can be as simple or as intricate as you'd like. A single line, dot, or shape can create a minimalist, chic look. If you're feeling a bit more adventurous, try combining different shapes and patterns. Our step-by-step guide on creating simple nail designs for almond-shaped nails can provide you with some great ideas.
Finally, don't forget to seal your design with a clear top coat. This not only gives your nails a glossy finish but also protects your design from chipping. For more tips on maintaining your nail art, check out our quick nail art tips.
Remember, nail art is a form of self-expression. Don't be afraid to experiment and create designs that reflect your personal style. With a little practice, you'll be creating stunning nail art on your short almond nails in no time. Happy painting!
All Rights Reserved © 2025


