Learn more


Are you ready to unleash your creativity and create stunning coffin nail designs? Look no further! Almond Nail is here to guide you through a step-by-step process that will leave you with envy-worthy nails. Whether you're a nail art enthusiast or a beginner, our DIY Coffin Nail Design guide has got you covered.
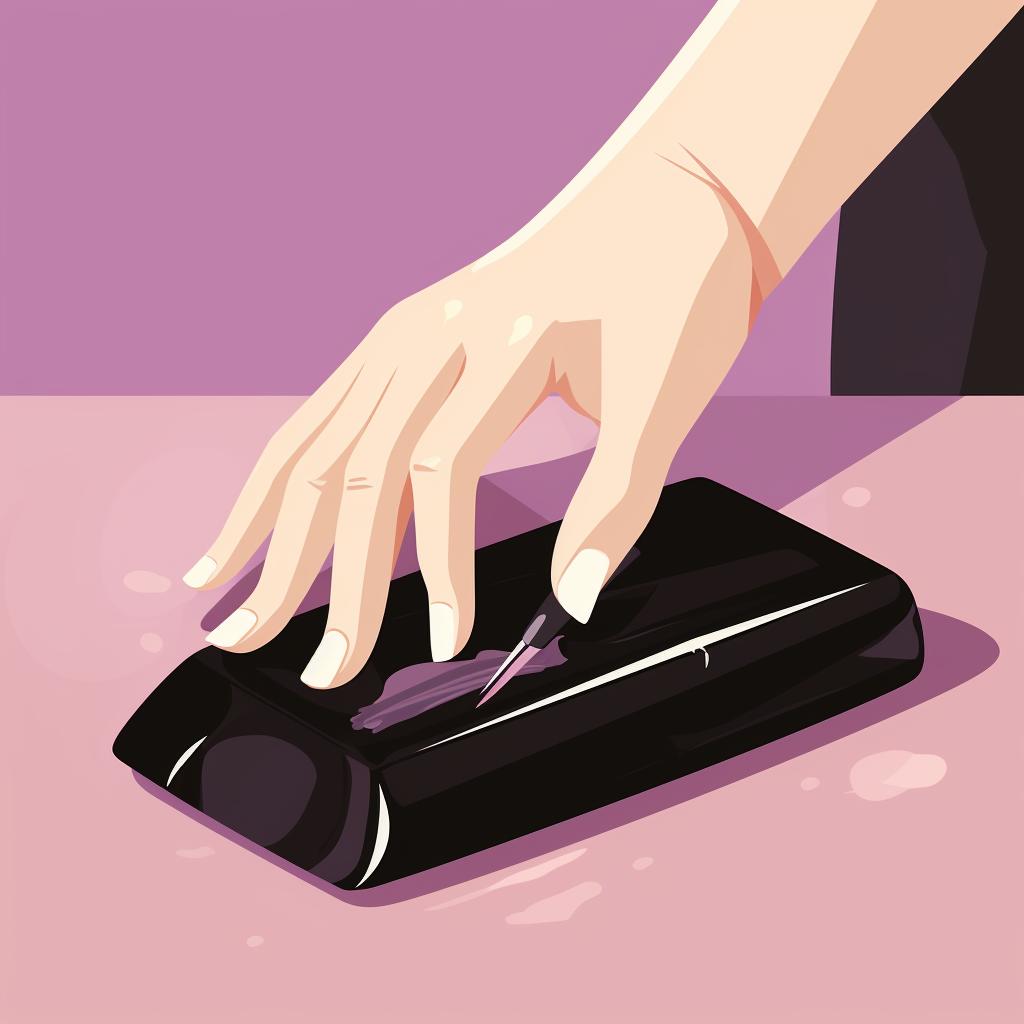
Step 1: Prepare Your Nails
Before diving into the world of coffin nails, it's essential to start with a clean canvas. Begin by cleaning your nails and pushing back your cuticles. Then, grab your trusty nail file and shape your nails into a sleek coffin shape. Make sure all nails are even and smooth for a polished finish.
Step 2: Apply Base Coat
To ensure your nail design lasts, applying a base coat is a must. This protective layer not only strengthens your nails but also helps your nail polish adhere better. Allow the base coat to dry completely before moving on to the next step.
Step 3: Choose Your Design
Now comes the fun part – choosing your nail design! The possibilities are endless. Whether you're into minimalist designs, bold patterns, or trendy ombre effects, let your imagination run wild. If you need inspiration, sketch out your design to visualize the final result.
Step 4: Paint Your Nails
It's time to bring your design to life! Grab your chosen nail polish colors and carefully paint your nails according to your design. Take your time to ensure clean lines and even coverage. Remember, patience is key when it comes to achieving a professional-looking manicure.
Step 5: Add Finishing Touches
Once your masterpiece is complete and dry, it's time to add those finishing touches. Elevate your design by incorporating glitter or metallic accents for an extra touch of glamour. To seal in your design and ensure long-lasting wear, apply a top coat.
With these simple steps, you'll be able to create stunning coffin nail designs from the comfort of your own home. So why wait? Unleash your creativity and get ready to turn heads with your fabulous nails.
At Almond Nail, we're passionate about all things nails. From almond-shaped nails to French tips, we're here to inspire you with the latest nail designs and trends. Whether you're looking for everyday elegance or show-stopping glam, we have everything you need to create the perfect look for any occasion.
So, what are you waiting for? Explore our website and let your nails become a canvas for your personal style. Get inspired, get creative, and get ready to rock the most fabulous coffin nail designs. Almond Nail is here to guide you every step of the way.
All Rights Reserved © 2025


