Learn more


Unleash your inner nail artist with our DIY guide to applying almond-shaped nail tips. This trendy nail shape is not only flattering but also versatile, making it a perfect choice for any occasion. Whether you're a nail novice or a seasoned pro, our step-by-step guide will help you achieve a salon-quality manicure right at home.
Almond-shaped nails are a classic choice that can easily be dressed up or down. They're ideal for showcasing fashion-forward nail designs and can even be adapted for trendy toe nail designs. With a little practice and patience, you'll be able to create a variety of cute nail designs on your almond-shaped nails.
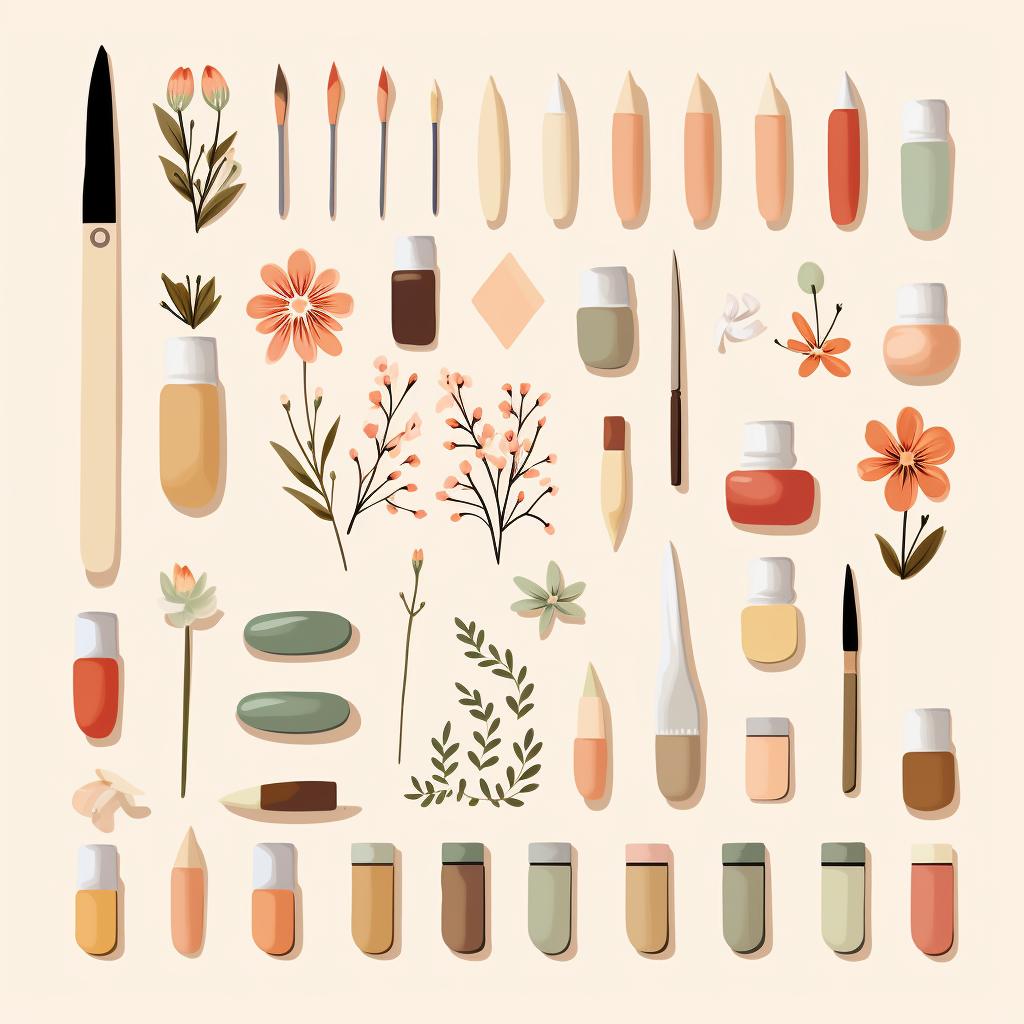
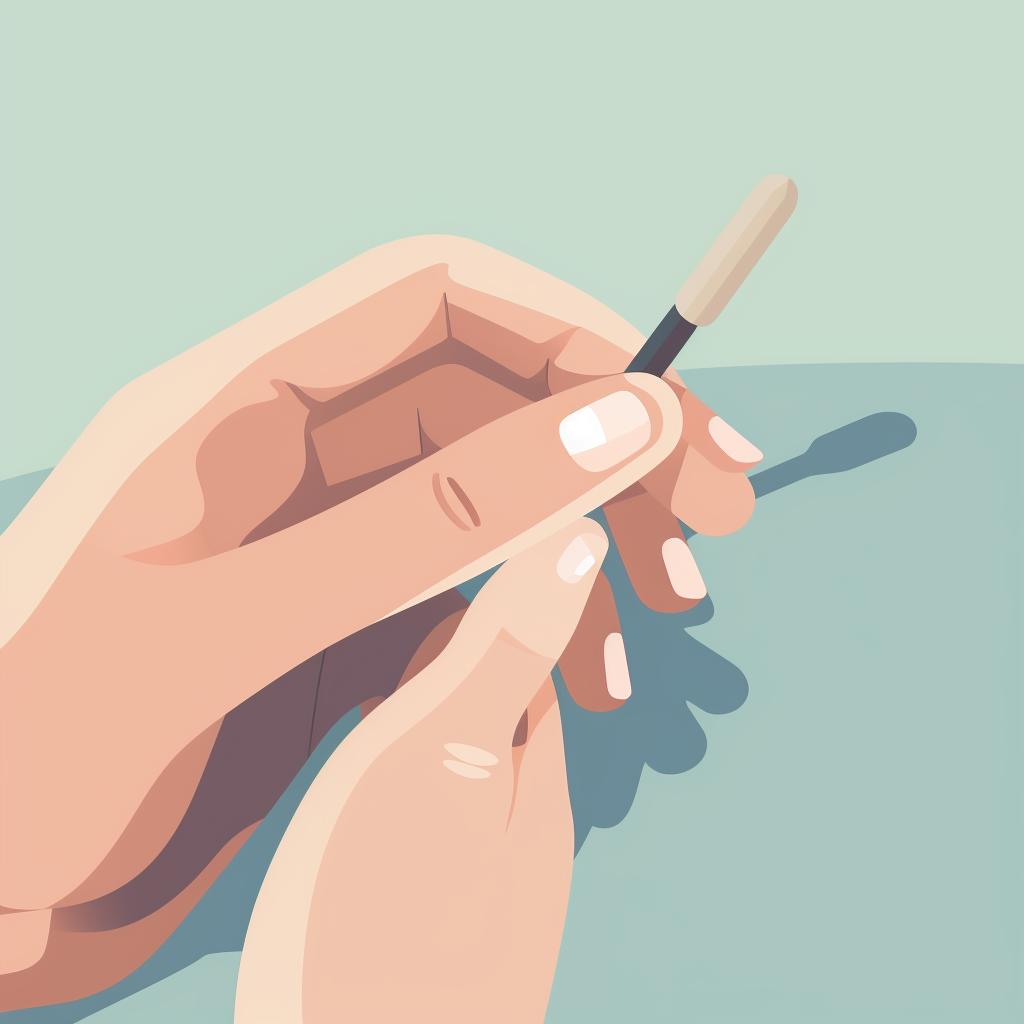
Before you start, gather all the necessary materials. This includes almond-shaped nail tips, nail glue, a nail file, a nail trimmer, a cuticle pusher, nail polish, and a top coat. Preparing your natural nails is crucial for the nail tips to adhere properly and last longer. Once your nails are clean and your cuticles are pushed back, you're ready to apply the nail tips.
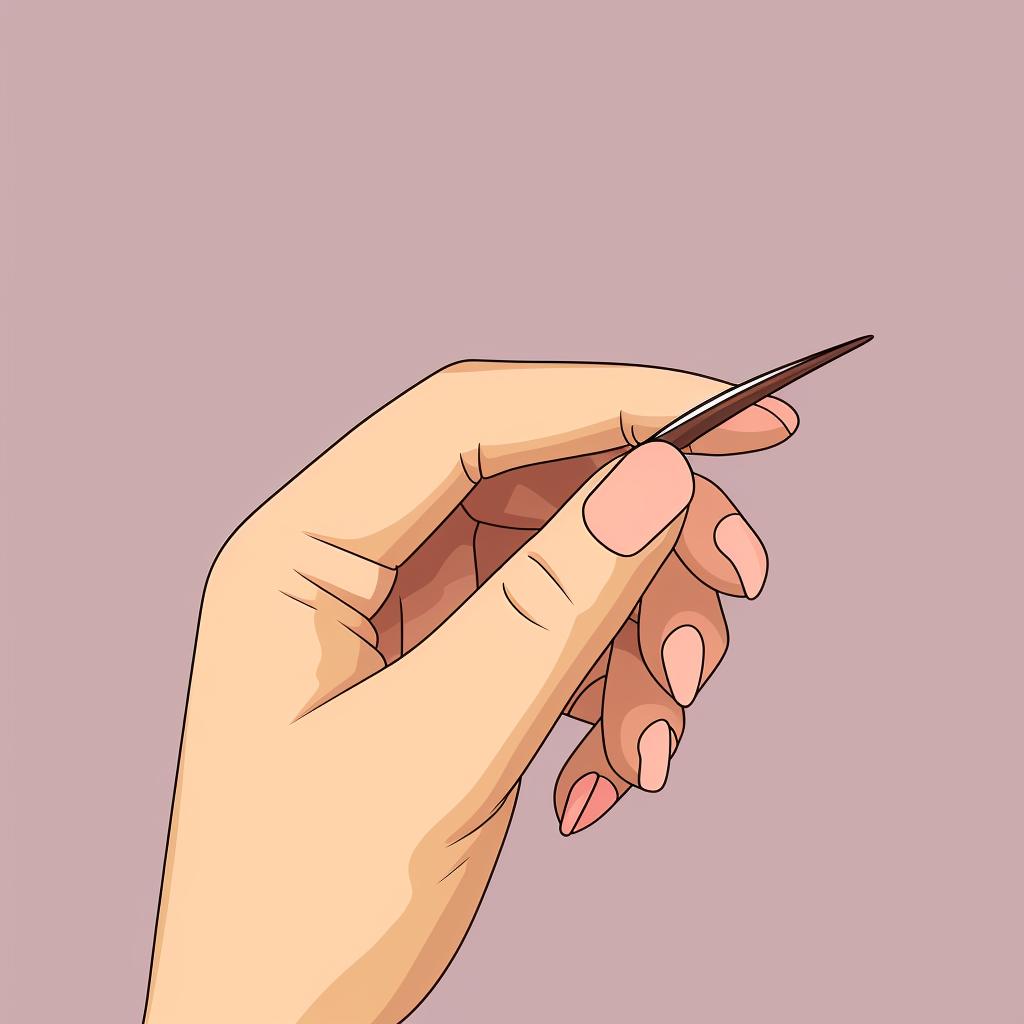
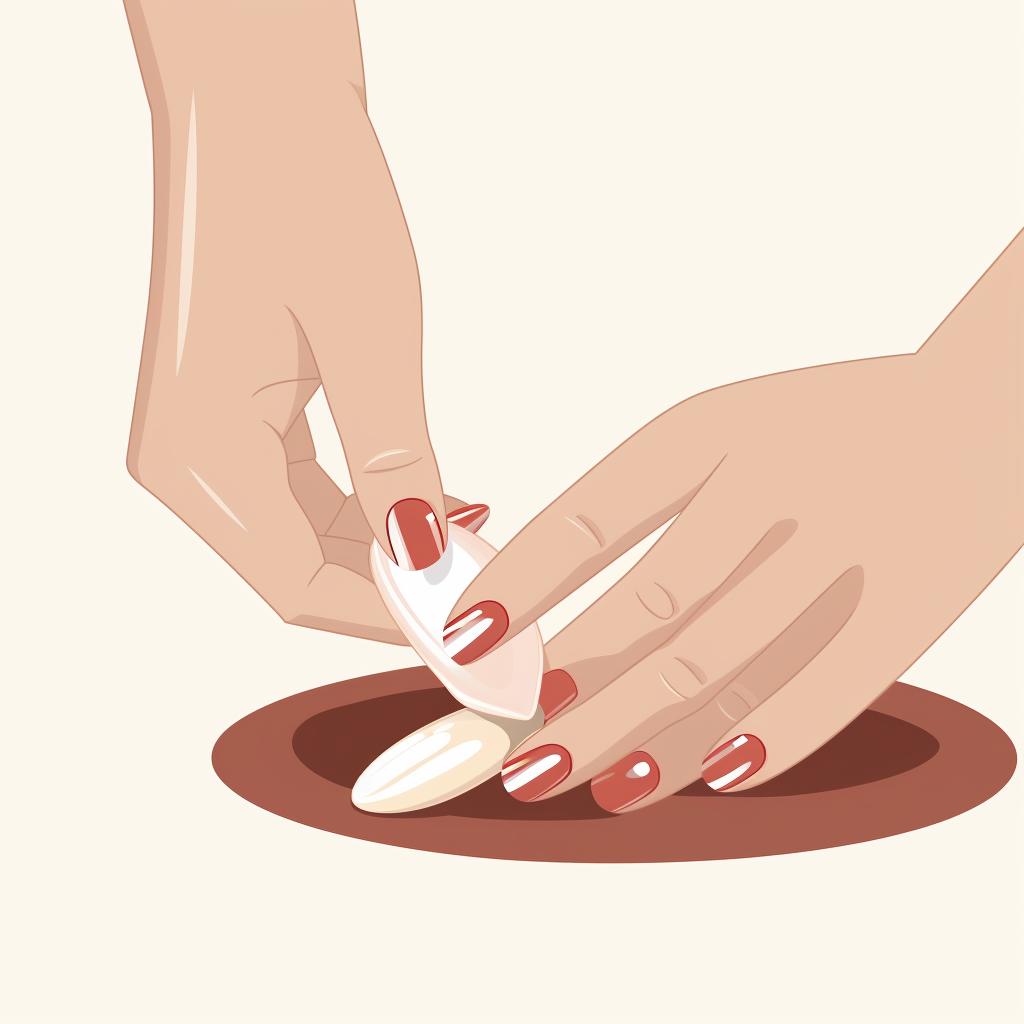
Applying the nail tips is a delicate process that requires precision. Be sure to apply a small amount of nail glue to the underside of the nail tip and press it onto your natural nail. Once the glue has dried, you can file and shape the tips to your liking. Remember to be gentle to avoid damaging the tips or your natural nails.
Now comes the fun part - applying nail polish! Choose your favorite color and don't forget to seal it with a top coat for a glossy finish and extra protection. If you're looking for some inspiration, check out our guide to gel nail designs or explore our French nail designs for almond-shaped nails.
Mastering the art of almond-shaped nail application is a skill that will serve you well. It's a fun and creative way to express your personal style and keep your nails looking fresh and trendy. So why wait? Start creating your perfect almond-shaped nails today!
All Rights Reserved © 2025


