Learn more

Welcome to Almond Nail, your ultimate destination for all things nail-related! Whether you're looking for inspiration for your next manicure or want to stay up-to-date with the latest nail trends, we've got you covered. From almond-shaped nails to French tips, we have everything you need to create the perfect look for any occasion.
Creating Chic Nail Designs for Narrow Nail Beds: A Step-by-Step Guide
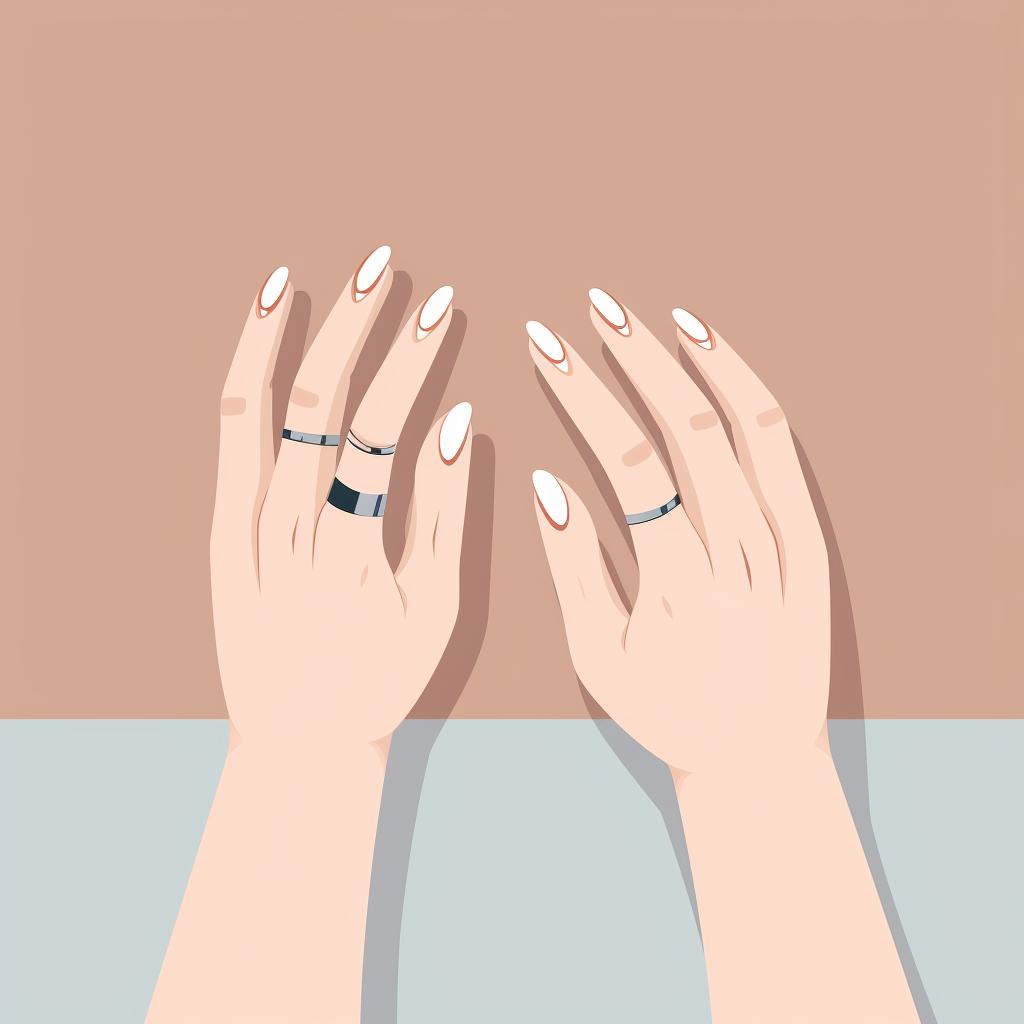
Step 1: Prep Your Nails
Start by cleaning your nails and removing any old polish. Then, file your nails into an almond shape, which is perfect for narrow nail beds. This shape elongates the fingers and creates a sleek and elegant look.
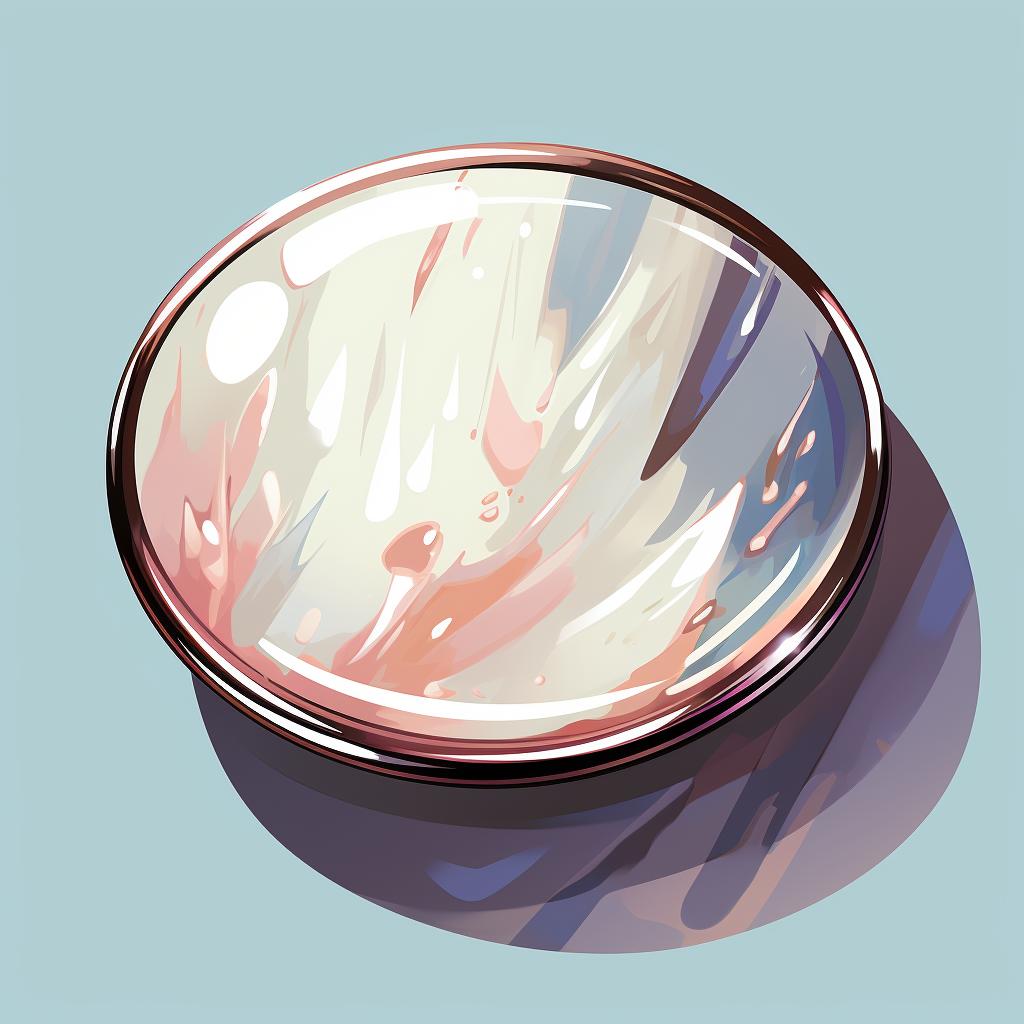
Step 2: Apply a Base Coat
Next, apply a clear base coat to protect your nails and help your polish last longer. A base coat not only provides a smooth surface for your polish but also prevents staining and strengthens your nails.
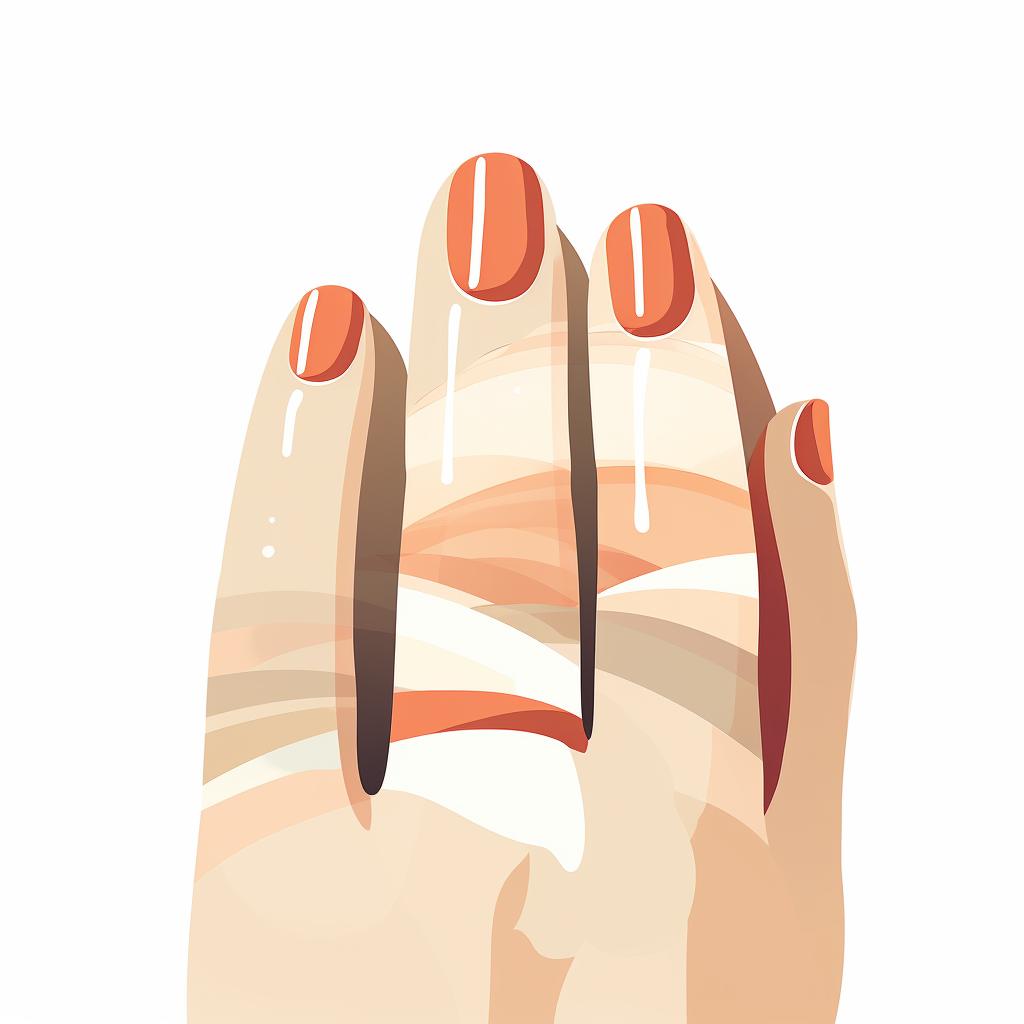
Step 3: Choose a Light Color
Choose a light color for your base. Light colors make your nails appear wider and create a beautiful contrast for the design. Whether you opt for a soft pastel or a creamy nude, the choice is yours. Get creative and experiment with different shades to find your perfect match.
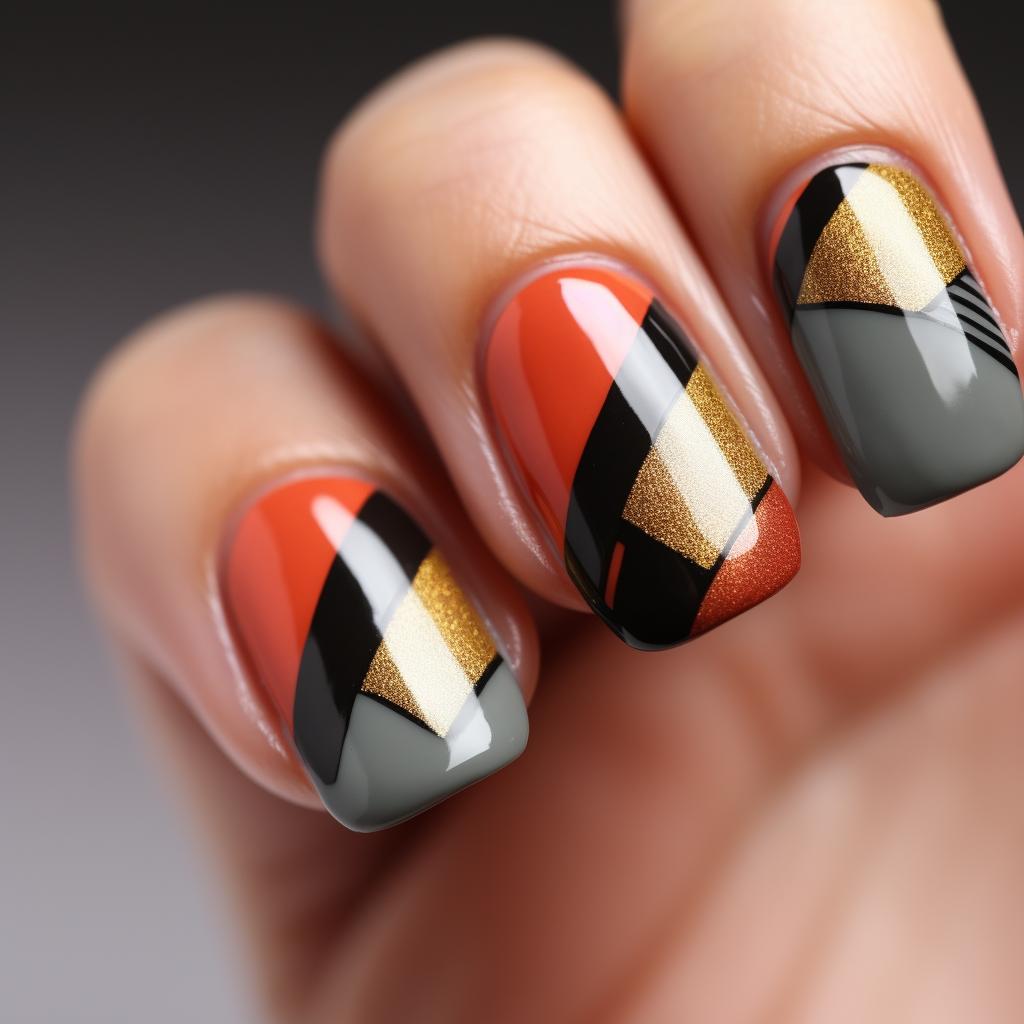
Step 4: Add a Simple Design
Now, it's time to add a simple design to elevate your manicure. You can create a thin stripe down the middle of your nail, add a small dot at the base, or even incorporate a delicate pattern on one side. The key is to keep it minimalistic and chic. Remember, less is more!
Step 5: Seal with a Top Coat
To finish off your nail design, seal it with a clear top coat. Not only does this add a glossy shine to your nails, but it also protects your design from chipping and extends the life of your manicure. A top coat is the secret to long-lasting, salon-worthy nails.
Now that you have mastered the art of creating chic nail designs for narrow nail beds, it's time to show off your creativity and style. Experiment with different colors, patterns, and shapes to find the perfect look that suits your personality and complements your outfit. Don't be afraid to try new things and have fun with your nail art!
At Almond Nail, we believe that your nails are a canvas for self-expression. Whether you prefer a classic French manicure or want to experiment with bold and vibrant designs, we are here to inspire and guide you every step of the way. Stay tuned for more exciting nail trends and tips. Happy nail art-ing!
All Rights Reserved © 2025


