Learn more

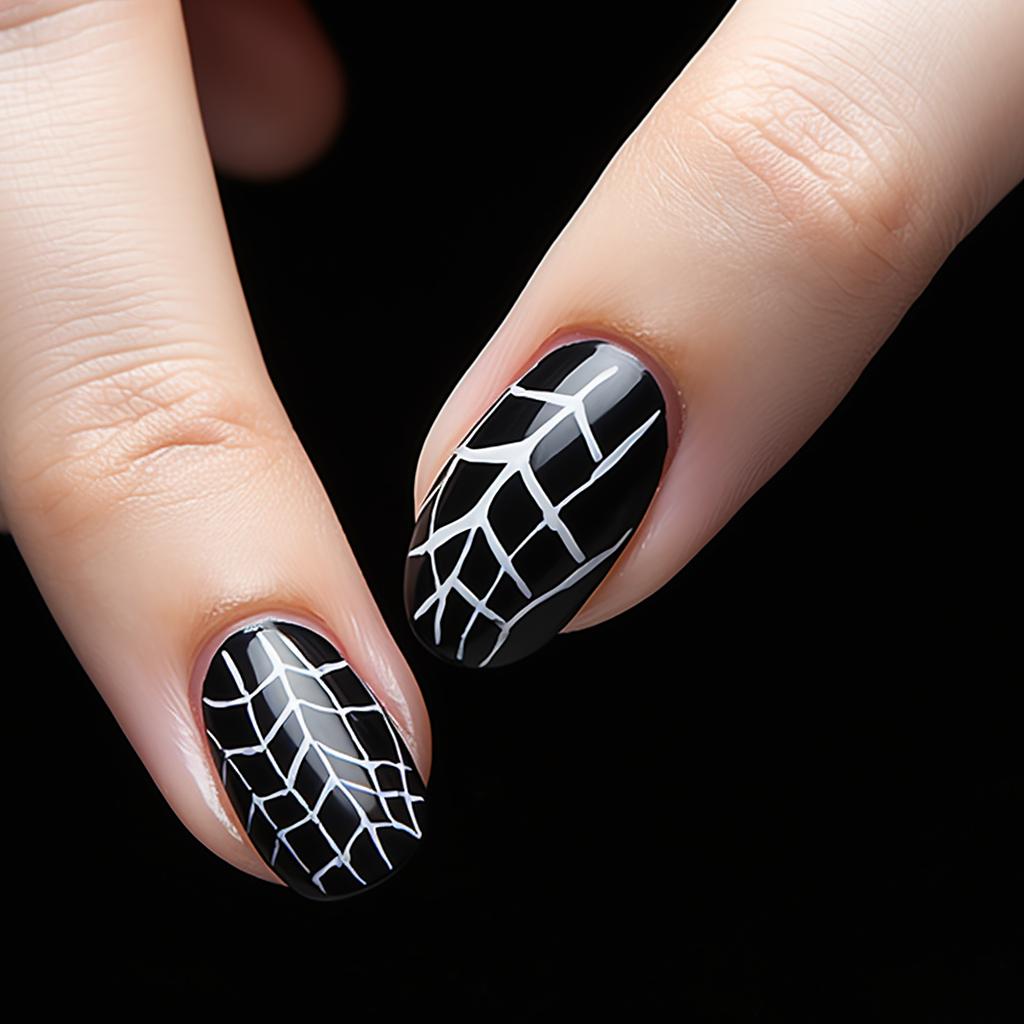
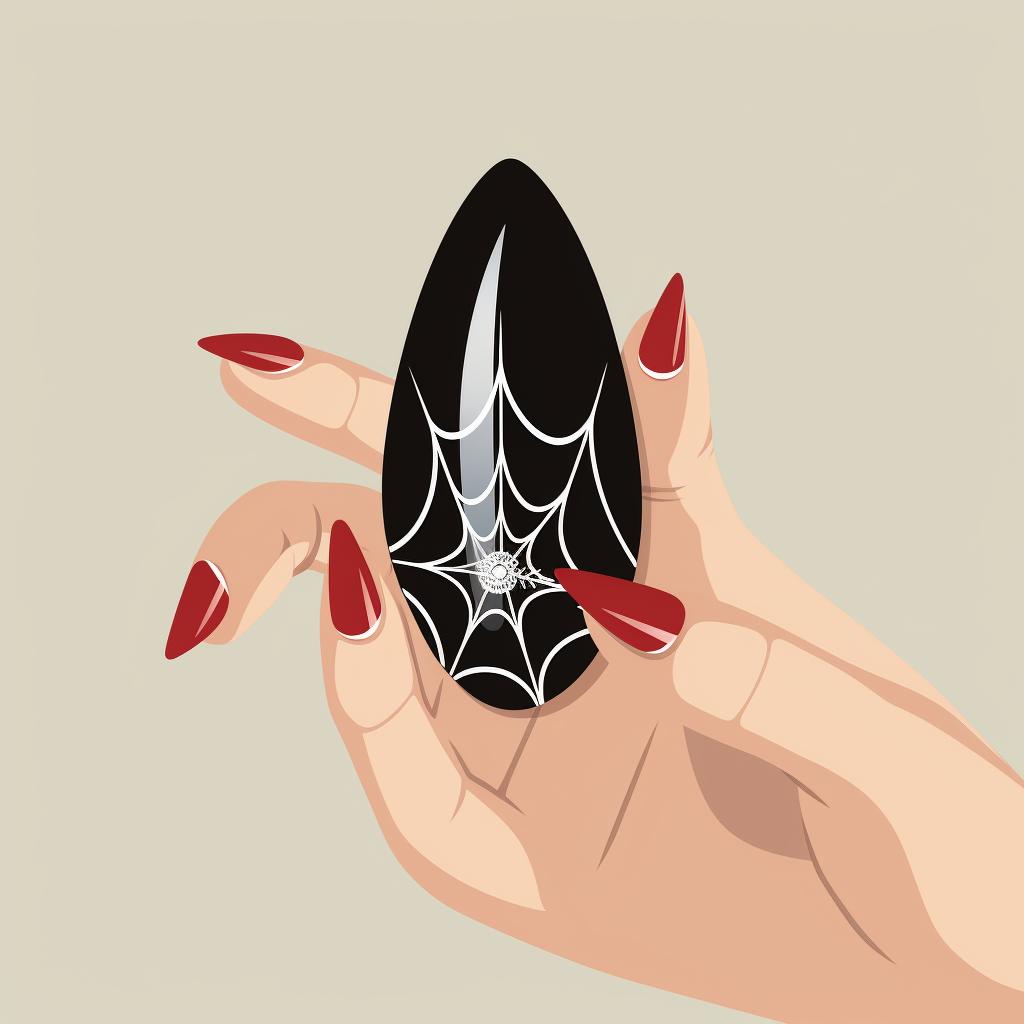
Unleash your inner artist and give your nails a spooky makeover with our easy-to-follow guide on crafting the perfect Spiderweb Nail Design. This unique and fun design is perfect for Halloween, or any time you're feeling a bit daring and want to show off your creative side. Not only is this design trendy and eye-catching, but it's also a fantastic way to showcase your almond-shaped nails.
Our step-by-step guide makes it easy to create this intricate design at home. All you need is a steady hand, a few basic nail art tools, and a dash of creativity. If you're new to nail art, don't worry! This design is perfect for beginners and experts alike. Plus, it's a great way to experiment with different nail art techniques at home.
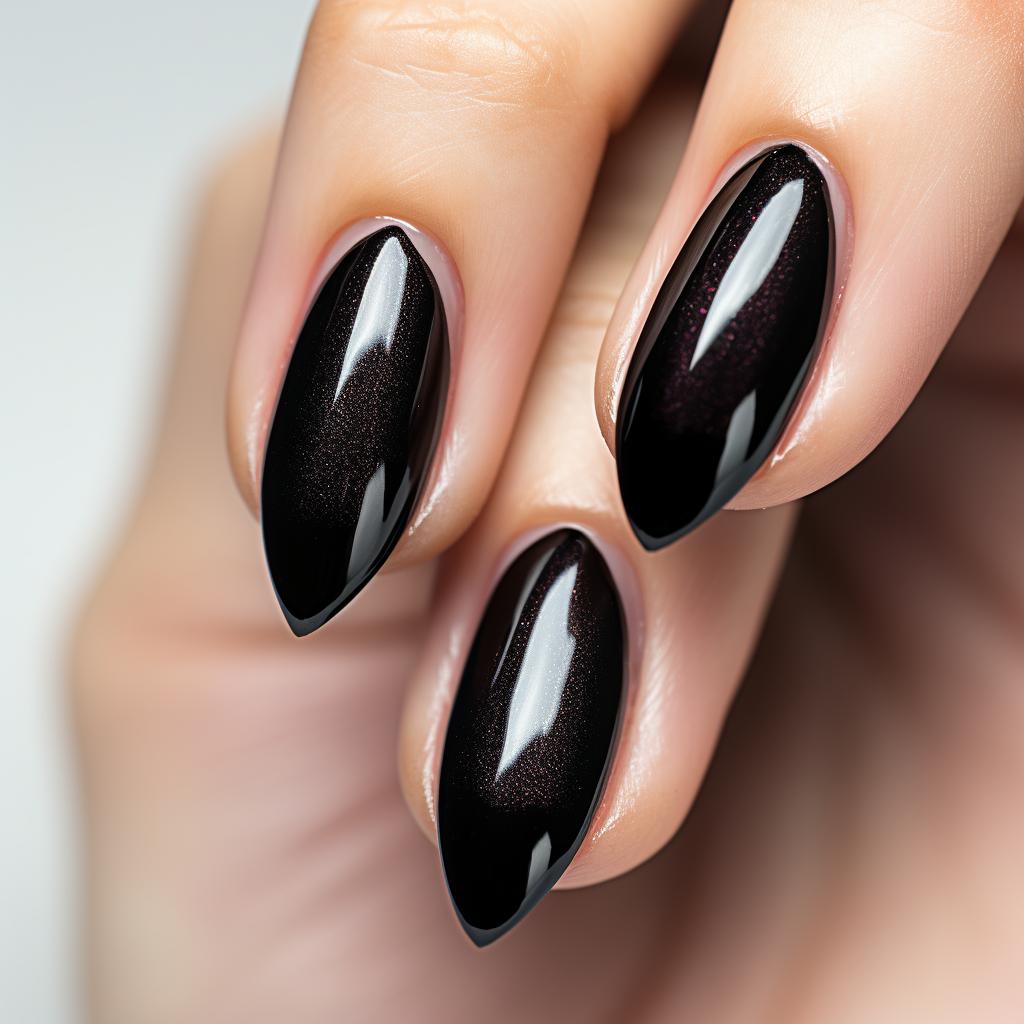
Why settle for a simple coat of black nail polish when you can create a stunning spiderweb design? This design is not only fun and unique, but it's also a great conversation starter. Whether you're heading to a Halloween party or just want to add a touch of whimsy to your everyday look, the Spiderweb Nail Design is sure to turn heads.
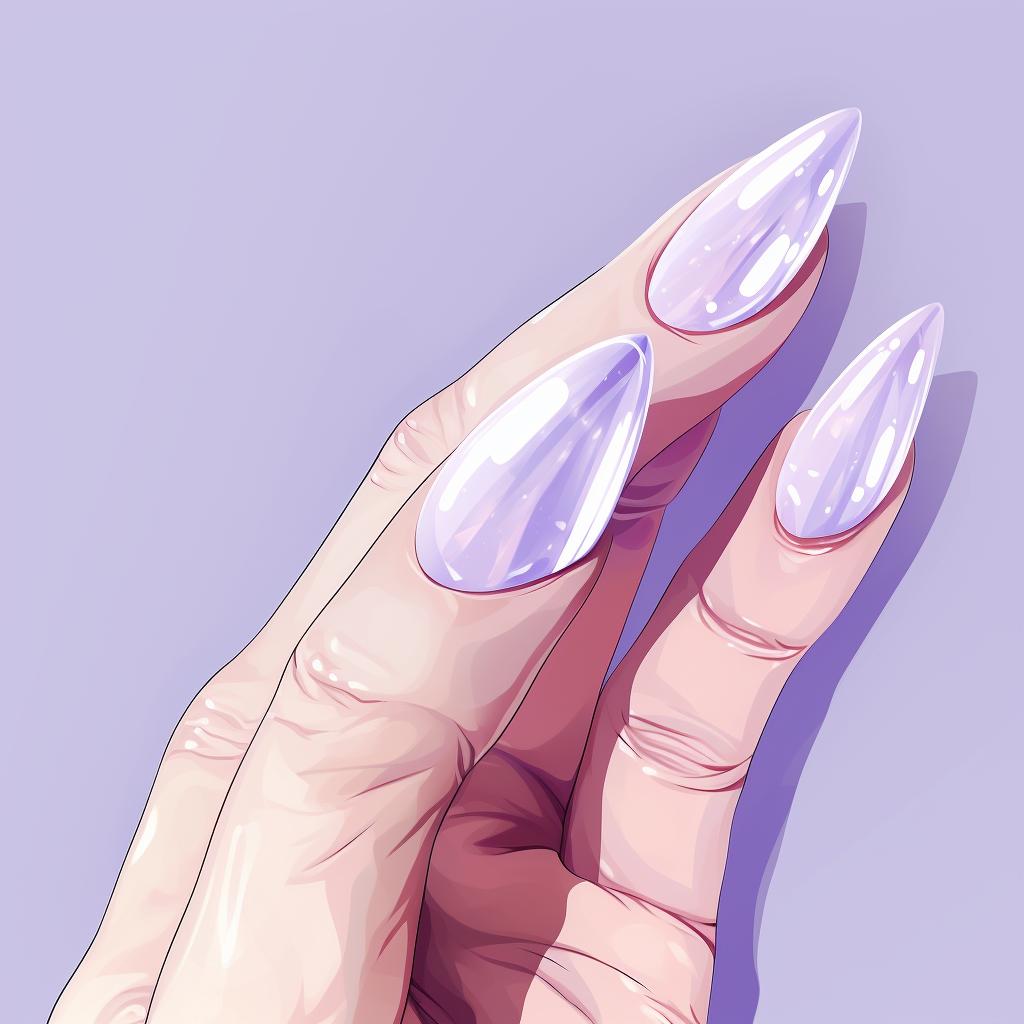
Plus, the contrast between the black and white polish makes this design pop, especially on almond-shaped nails. The almond shape is perfect for this design as it provides a large canvas for the spiderweb, allowing you to show off your nail art skills. If you're looking for more inspiration for your almond-shaped nails, check out these spring nail designs.
Once you've mastered the Spiderweb Nail Design, why not get creative? You can experiment with different base colors, add glitter for a touch of sparkle, or even create a 3D effect with a dotting tool. The possibilities are endless!
And remember, practice makes perfect. So, don't be discouraged if your first attempt doesn't turn out exactly as you'd hoped. With a little patience and practice, you'll be creating stunning nail art designs in no time. For more nail art ideas, check out these winter nail designs for almond nails.
So, what are you waiting for? Grab your nail polish and get creative! And don't forget to share your creations with us. We can't wait to see what you come up with!
All Rights Reserved © 2025


